
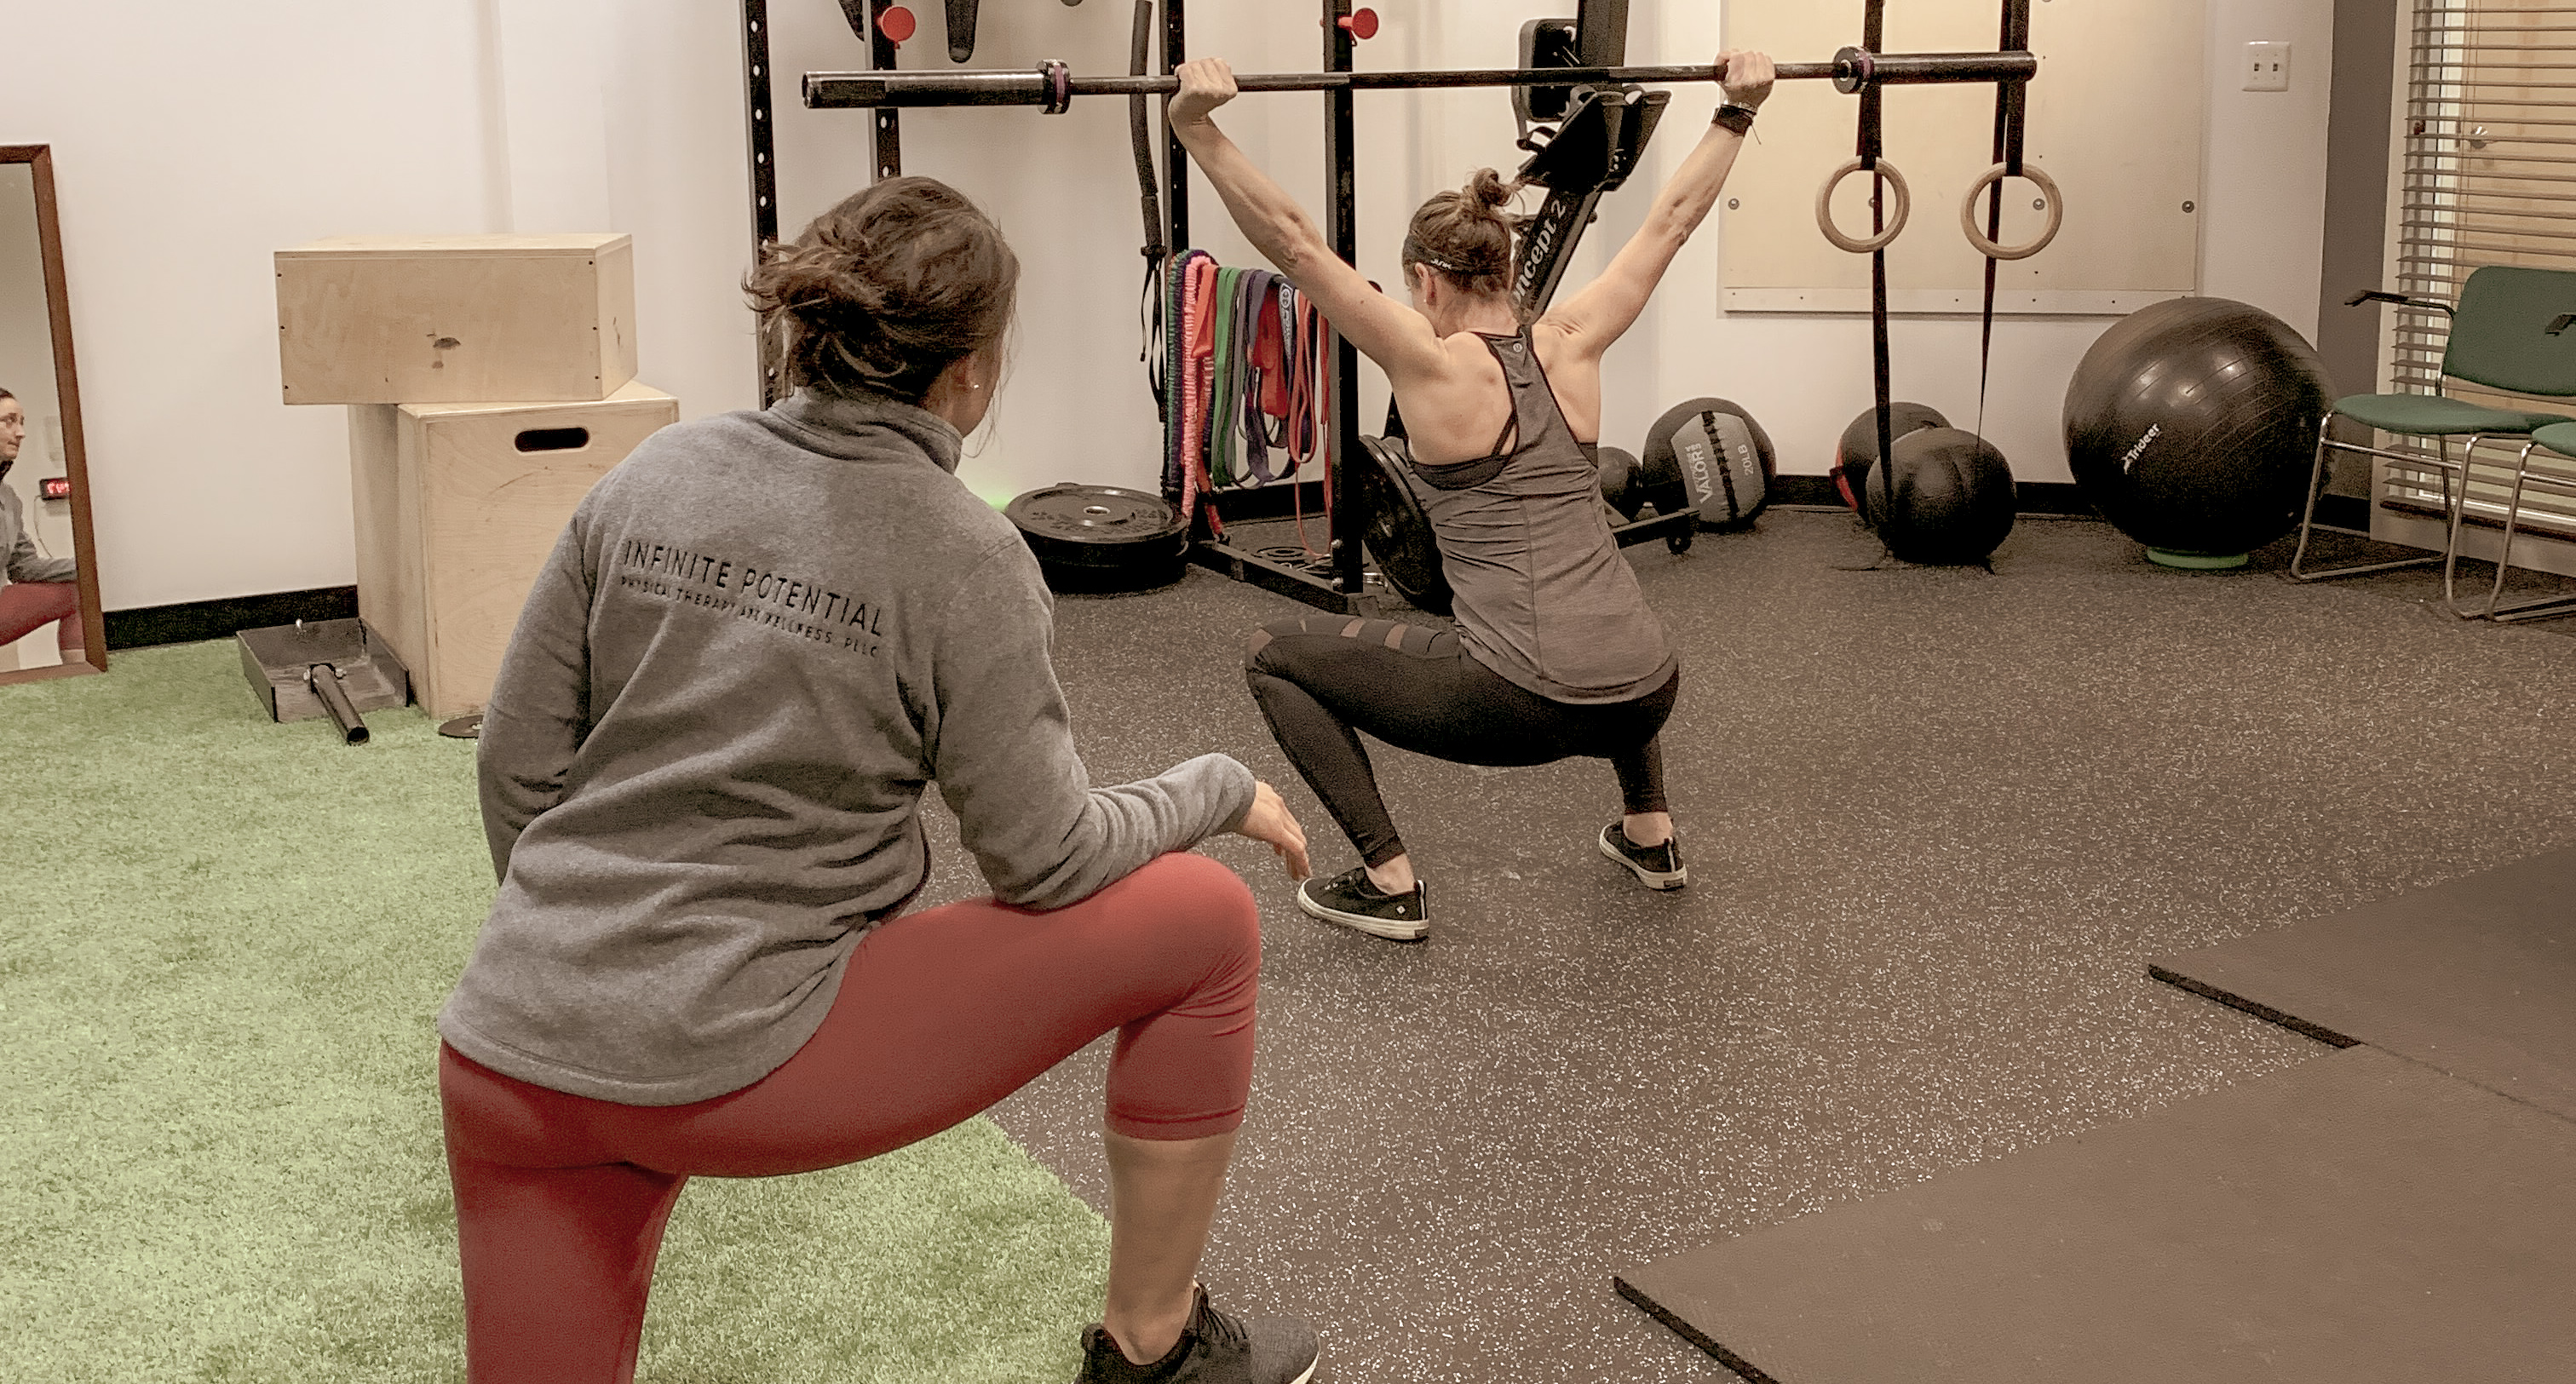
You’re injured… How do you get back to the gym?!
Attention all CrossFit and OrangeTheory (OTF) Members! This article takes you step by step on how to properly frame your return to full gym participation.
I see LOADS of you folks walk through the doors of Infinite Potential PT. It is incredibly important that we help educate the public about how it properly return to the gym or activities you love to do.
This article is not meant to be the be all end all or any sort of medical advise. It is, however, a skeleton plan at how to get yourself from being sidelined to being back to full participation in the gym!
Before I began working with members of CrossFit and OTF, I did not have a solid grasp on what it took to rehab someone in their shoes. Any competent PT knows how the body works and knows how to get most people out of pain. For me 2-3 years ago, the average client I was working with was not asking me to help them get past pain with heavy back squatting or through mile 14 of a 26.2 mile marathon. They were asking for help because of pain with lifting a heavy gallon of milk or putting on their seatbelt. Sure, sometimes the people I see now need that too, but those types of complaints are usually helped early in their rehab process and the larger goals are focused on. Many PT’s, like myself 2-3 years ago, only felt confident helping people wean back to being a participant in a fitness class, but not necessarily taking them the entire way to the end goal of being completely confident in their abilities.
So, what does it take to get yourself back to the old you of being resilient AF and being able to do whatever you want in the gym?
I tell the previous story because it is important to be working with a medical professional that understands not only what you do but HOW to get you back. Below is a step-by-step guide to follow to give you a grasp on what rehab should look like.
Step 1: Establish your long term goals.
This is very important so you can get a meaningful plan in place that can be tracked, monitored, and adjusted.
Each of those goals need to possess a few “SMART” characteristics:
Specific: It has to have a particular subject – ie. Running pain-free vs being active without pain – running is more specific
Measurable: It has to be able to be tracked over time – ie. Running a 5k pain-free vs “running” pain-free is not measurable
Achievable: You have to know your own body – ie. Running a 5k pain-free vs running a marathon pain-free – first off, a marathon is not pain-free but if you have not run a marathon pre-injury, then running one post injury may not be a realistic goal whatsoever.
Relevant: It has to be meaningful to you or you won’t work towards it.
Time sensitive: You need to put a time cap on it – ie. Running a 5k pain-free by September. Putting an end date allows you to set markers along the way and keeps you accountable.
So… sit down and make that goal. This is a step that can NOT be skipped.
Step 2: Establish a starting point.
This is an incredibly important step as this is the “point A” to the “point B”. Without figuring out where to start from, you can’t establish a plan to the end goal!
You want to figure out your exact status with regards to what activity you want to get back to doing. So… Think hard about where you are write it down! It has to be specific.
For example: “I can’t run right now” is not enough. Can you run for 1 minute? 1 mile? 30 seconds?
Figure it out and write it down.
Step 3: Establish your short term goals.
This is really where a PT or other medical professional can help you set some realistic, achievable markers of progress and short-term goals. They can help you understand tissue healing times and normal courses of rehab to best advise you on what to expect based on what you have going on.
For example: If someone is dealing with a long-term diagnosis of a shoulder tendonitis (or condition of a tendon) and wants to be pain-free lifting overhead within a month, the therapist will helpfully give you information on the normal course of rehab. A tendon takes time to heal and change back to a state where it can handle the loads that exercise / life puts on it. That time can range anywhere from 3-12 months depending on many, many, many factors. This is an important time to say that it is important to have a guide familiar with injuries like yours, the goal you want to achieve, and the path to get you there.
The following example sets the stage and understanding of how to set realistic expectations when dealing with an overuse injury.
Appropriate long term goal: “I want to be lifting my previous weights overhead, pain-free within the next 6 months.
A few short-term goals or progress markers based on the above:
- With little to no pain, be able to handle lifting moderate weight with angle modification (ie. Landmine press on an angle vs overhead press with a barbell) within in 4 weeks.
- With little to no pain, be able to handle lifting moderate weight overhead with grip modification using dumbbells within 8 weeks.
Step 4: Establish a plan
This is the tricky part and definitely needs some guidance. I can not get too specific here because every single person is different, but I can play off the example in the previous step to show you what the plan would look like.
The plan must begin with taking the end goal, short-term markers and starting point and figure out what needs to be implemented in order to achieve the short term markers step by step.
The plan must include:
- isolated work / exercise done on the area of injury
- global work done on the surrounding areas to continue to improve supporting strength
- cardiovascular training to maintain fitness and promote tissue healing
- Goal-centered activities such as a return to running program that begins with walking to simulate what they body has to do in order to run
Each of the above are progressed and managed as life happens and changes occur but this is the usual start to any rehab program that I plan.
Step 5: Track the progress
This is the fun part but also most challenging to explain. The rehab process is always up and down and never, or vary rarely, linear. You don’t just keep getting better and better. There are constant ups and downs, setbacks and speed bumps. That all being said, the ups and downs are 100% normal and should be expected. This sets the stage for realistic expectations and reduces the desire to search for more answers or a better plan as the program continues. If someone dealing with injury rehab does not know that pain will constantly resurface in the process or recovery, they will jump ship pretty darn fast.
Does this seem overwhelming? It should! Unless you are a PT who deals with this daily. But even though I see this day in and day out, I still get overwhelmed by cases that are not making the expected process.
That being said, the point of all of this is to expose you to the skeleton of what a proper rehab program should look like. Your program should include very specific activities and exercise routines that are prescribed with your goals in mind.
Not all PT’s are created equal and I am going to put a shameless plug here for my rehab programming. I have taken many CrossFitters and OTF members of all ages and ability levels right back to the point of returning to full class participation. Many of those people were being seen a few days per month or less and the work was being put in consistently outside of our office walls.
Click here to see a scroll through an activity-specific “Return to Competitive CrossFit” home program
Click here to see a scroll through an activity-specific “Return to OTF” home program.
Thank you for reading!
If you are interested in learning more, please do not hesitate to contact us directly. We want to make sure you are informed about how our programs work!
We ALSO offer complimentary consults to do just that (above).
Reach out so you don’t miss out.
