
by Dr. Loni Rodriguez | Mar 2, 2020 | box jumps, crossfit, Exercise advice, Injury Prevention, Uncategorized
Box jumps are a mainstay of most CrossFit programs and many people have trouble making the smooth landing. No matter the height, it can be scary to try and leap off the ground and safely make it to the top of the box.
Luckily, there are many ways to adapt box jumps to any ability level. Performing a step-up, for example, is a great way to make a slight modification yet still achieve the end goal of getting you up on the box. You can also modify by reducing the height of the box to make it more manageable. Many facilities also have soft boxes in order to save your shins – have you ever missed a box jump and left some DNA on the edge of a wooden box? I sure have and hope it never happens again.
This all being said, there are a few ways that you can help get better at this powerful movement. It is not just about practicing more, it has a lot to do with basic strength and turning that strength into power!
Each area being worked on below helps the process of jumping and clearing the box. You need strength in the lower abs, hip flexors and ankles to get everything flexed enough to clear the box. In addition, quad and calf strength helps power you high!
Box jumps require strength in a few areas that will be explained below. The exercise will be featured within each section. Now… working on these exercises once won’t get you the results you are looking for. This program takes time to take effect and each exercise should be performed at least 2-3 days per week.
- Hip flexors! The muscles on the front of your hips that help to bring your knees toward your chest. Many strength programs do not have a focus on hip flexor strength but training this muscle group has many benefits (not only for box jumps). They are helpful for running performance as well as for treatment of lower back pain.
The hip flexor march is a great initial exercise to begin work on this muscle group.
- Begin by lying on your back with a medium resistance band around the tops of your feet.
- Spread your feet apart approximately hip width and flex your ankles to keep the band in place.
- Draw your knee towards your chest, pulling against the resistance band.
- Return to the starting position and repeat on the opposite leg.
- Lower abdominals! The muscles in the lower abdominals help to pull your knees toward your chest and flex your torso. Not only will strengthening this area help with box jumps, but it also has a benefit on improving hamstring flexibility as well as lower back pain.
The double leg lower exercise is an intermediate movement that really can torch the lower abs.
- Begin lying on your back with your arms overhead holding onto a weighted object. The object should weight at least 10 pounds.
- Draw your knees toward you chest and have your knees and hips bent to 90 degrees.
- Inhale through your nose and tighten your abdominals as you lower your legs towards the floor.
- Lower your feet towards the floor but keep your knees bent to 90 degrees as you lower them – if this is not maintained it will either become very easy or too hard.
- Return to the starting position
- Quad strength! The muscles in the front of your thighs are your quads and they help you jump because they work to quickly straighten your knees. Working on these muscles can also help knee pain.
The weighted ball squat is a specific squat that targets the quads compared to other types of squats (ie. Goblet squat) because it keeps the torso and shins vertical during the entire movement. Using a ball is the easiest way to perform this type of squat without the need for much gym equipment. This can also be effetely performed at a gym that has a smith machine, but that is not necessary for a beginner.
- Begin by holding a weight at your chest while learning against a ball on the wall.
- Slowly squat down until your thighs reach parallel to the floor.
- Stand back up without completely allowing your knees to lock out – this will keep tension on the thighs and make it harder.
- Ankle strength! You have some muscles on the front of your shins that work to flex your ankle up. Training these muscles will not only benefit box jumps but they can also help with rehab from an ankle sprain or prevent running-related injuries.
The toe raise exercise targets the muscles in the front of your shins and if you do it correctly, you will really feel its effect.
- Begin standing about 3 feet from a wall.
- Flex your ankles upward and slowly lower them without allowing them to completely rest on the floor
- Don’t let your entire body rock back and forth as you perform this because you will take away from isolating the area.
- Calf strength! Your calf muscles in the back of your lower leg are the last piece of the puzzle to get you off the ground. Not only do these muscles help with jumping, but they are incredibly important with running.
The heel raise is a very basic calf exercise that works to strengthen the entire calf muscle complex.
- Begin by standing at the edge of a step.
- Raise up onto your toes slowly and go as high as you can.
- Slowly lower yourself down to allow your heels to drop off the back of the step.
I hope that you learned something from the article. As I stated in the beginning, do not anticipate getting better after doing this once. I would suggest finding where you feel you are the most limited and focus on that movement. If you try and take on too much, it can be overwhelming!
Questions about which exercise is right for you? Leave a comment below!
Thank you for reading 🙂
by Dr. Loni Rodriguez | Feb 20, 2020 | Exercise advice
Have you ever twisted or sprained your ankle? Sometimes it
happens while you’re playing sports, working out, hiking, or even just walking around
the house. Either way, this can be quite painful, and I’ll get asked a lot of
times if it’s worth coming in for physical therapy.
The answer is yes!
When you sprain your ankle the ligaments that help support the ankle joint are
overstretched. It can take a while for these ligaments to heal and be back to
full strength, but we don’t always think about the other parts of our ankles
that are hurt. Our muscles have a harder time doing their job for walking and
turning because of the stiffness and pain. We also have receptors in our ankles
that help keep us balanced. Basically, the receptors tell our body when we are
off balance and how to correct it. When you sprain your ankle, these receptors
and your muscles are not able to do their job very well, which can lead to poor
balance and difficulty with normal activities like walking. Without some specific
exercises it can take a lot longer to get back to feeling your best. Especially
if you’re trying to get back to exercising it is really important to make sure
your body is prepared for the specific movements you want to do.
Right after spraining your ankle there are a few things you
should make sure to do and understand. This is the first step to helping your
ankle heal and get you back to 100%
1- Protect your ankle to prevent any further twisting or
injury to the area. This means restricting the activity on your ankle for about
1-3 days. Just enough to let the area start to heal, but not too long
either.
2- Elevate your ankle above your heart to help with the
swelling. Try about 20 minutes at a time.
3- Compression can also be helpful with swelling. Try this
with an ACE bandage or compression sleeve. It is important to know that this
isn’t the most important part of rehab for your ankle, but it definitely won’t
hurt either.
4- Active recovery is the most important part of
rehabbing your ankle. This means the bulk of getting your ankle better is going
to involve exercise and gradually challenging your ankle. This includes walking,
strengthening, balance, and plenty of other exercises.
In general, let pain be your guide with this process.
If something really hurts a lot, you’re probably not ready to do it. If
something hurts a little bit. It’s okay to keep doing.
After those first few days there are a few next steps in
this rehab to help you make a quick recovery.
1- The first thing you want to do is gradually load the ankle. This
means putting weight on it, walking, and performing light exercises. By gradually
challenging your ankle with weight bearing, and light exercises you will improve
your ankles ability to become strong, pain free, and balanced.
2- You also want to remain positive and optimistic throughout this process. Suffering
any kind of injury can be really difficult, especially when it keeps you from
doing the things you love. When you sprain your ankle, you might miss part of
your sports season or be unable to exercise with friends. This can be really
hard to deal with, especially if you’ve had other ankle sprains in the past. It
is important to remember to stay positive because it will get better, it just
takes time and hard work.
3- It is also really hard to keep doing cardio when you’ve sprained your ankle.
If you’re a runner or soccer player, it isn’t easy to do your normal workout. It’s
important to find a way to do some cardio. This could be riding a bike, using an
elliptical, or working out on a rower. Any of these will work great, just make
sure to keep some kind of aerobic exercise in your routine.
4- Finally, the most important part of rehabbing your ankle is to perform
specific exercises and gradually progress them. This means challenging your balance, range of motion, and strength. It will be important to work
within your limits, but also to push yourself so you can make steady progress. As
you get stronger the exercises should progress, so they are even more challenging
and specific to your goals. The specific exercises are going to be the most
important part of healing your ankle and will help you to have long term
success.
Remember, if you sprain your ankle PT can be really helpful!
It can help you recover faster and more fully so that the chances of having
another ankle sprain aren’t as high. Take time to recover fully so you can
get back to the things you love to do sooner and safer.
by Dr. Loni Rodriguez | Feb 13, 2020 | Exercise advice, Foot Pain, Injury, Running
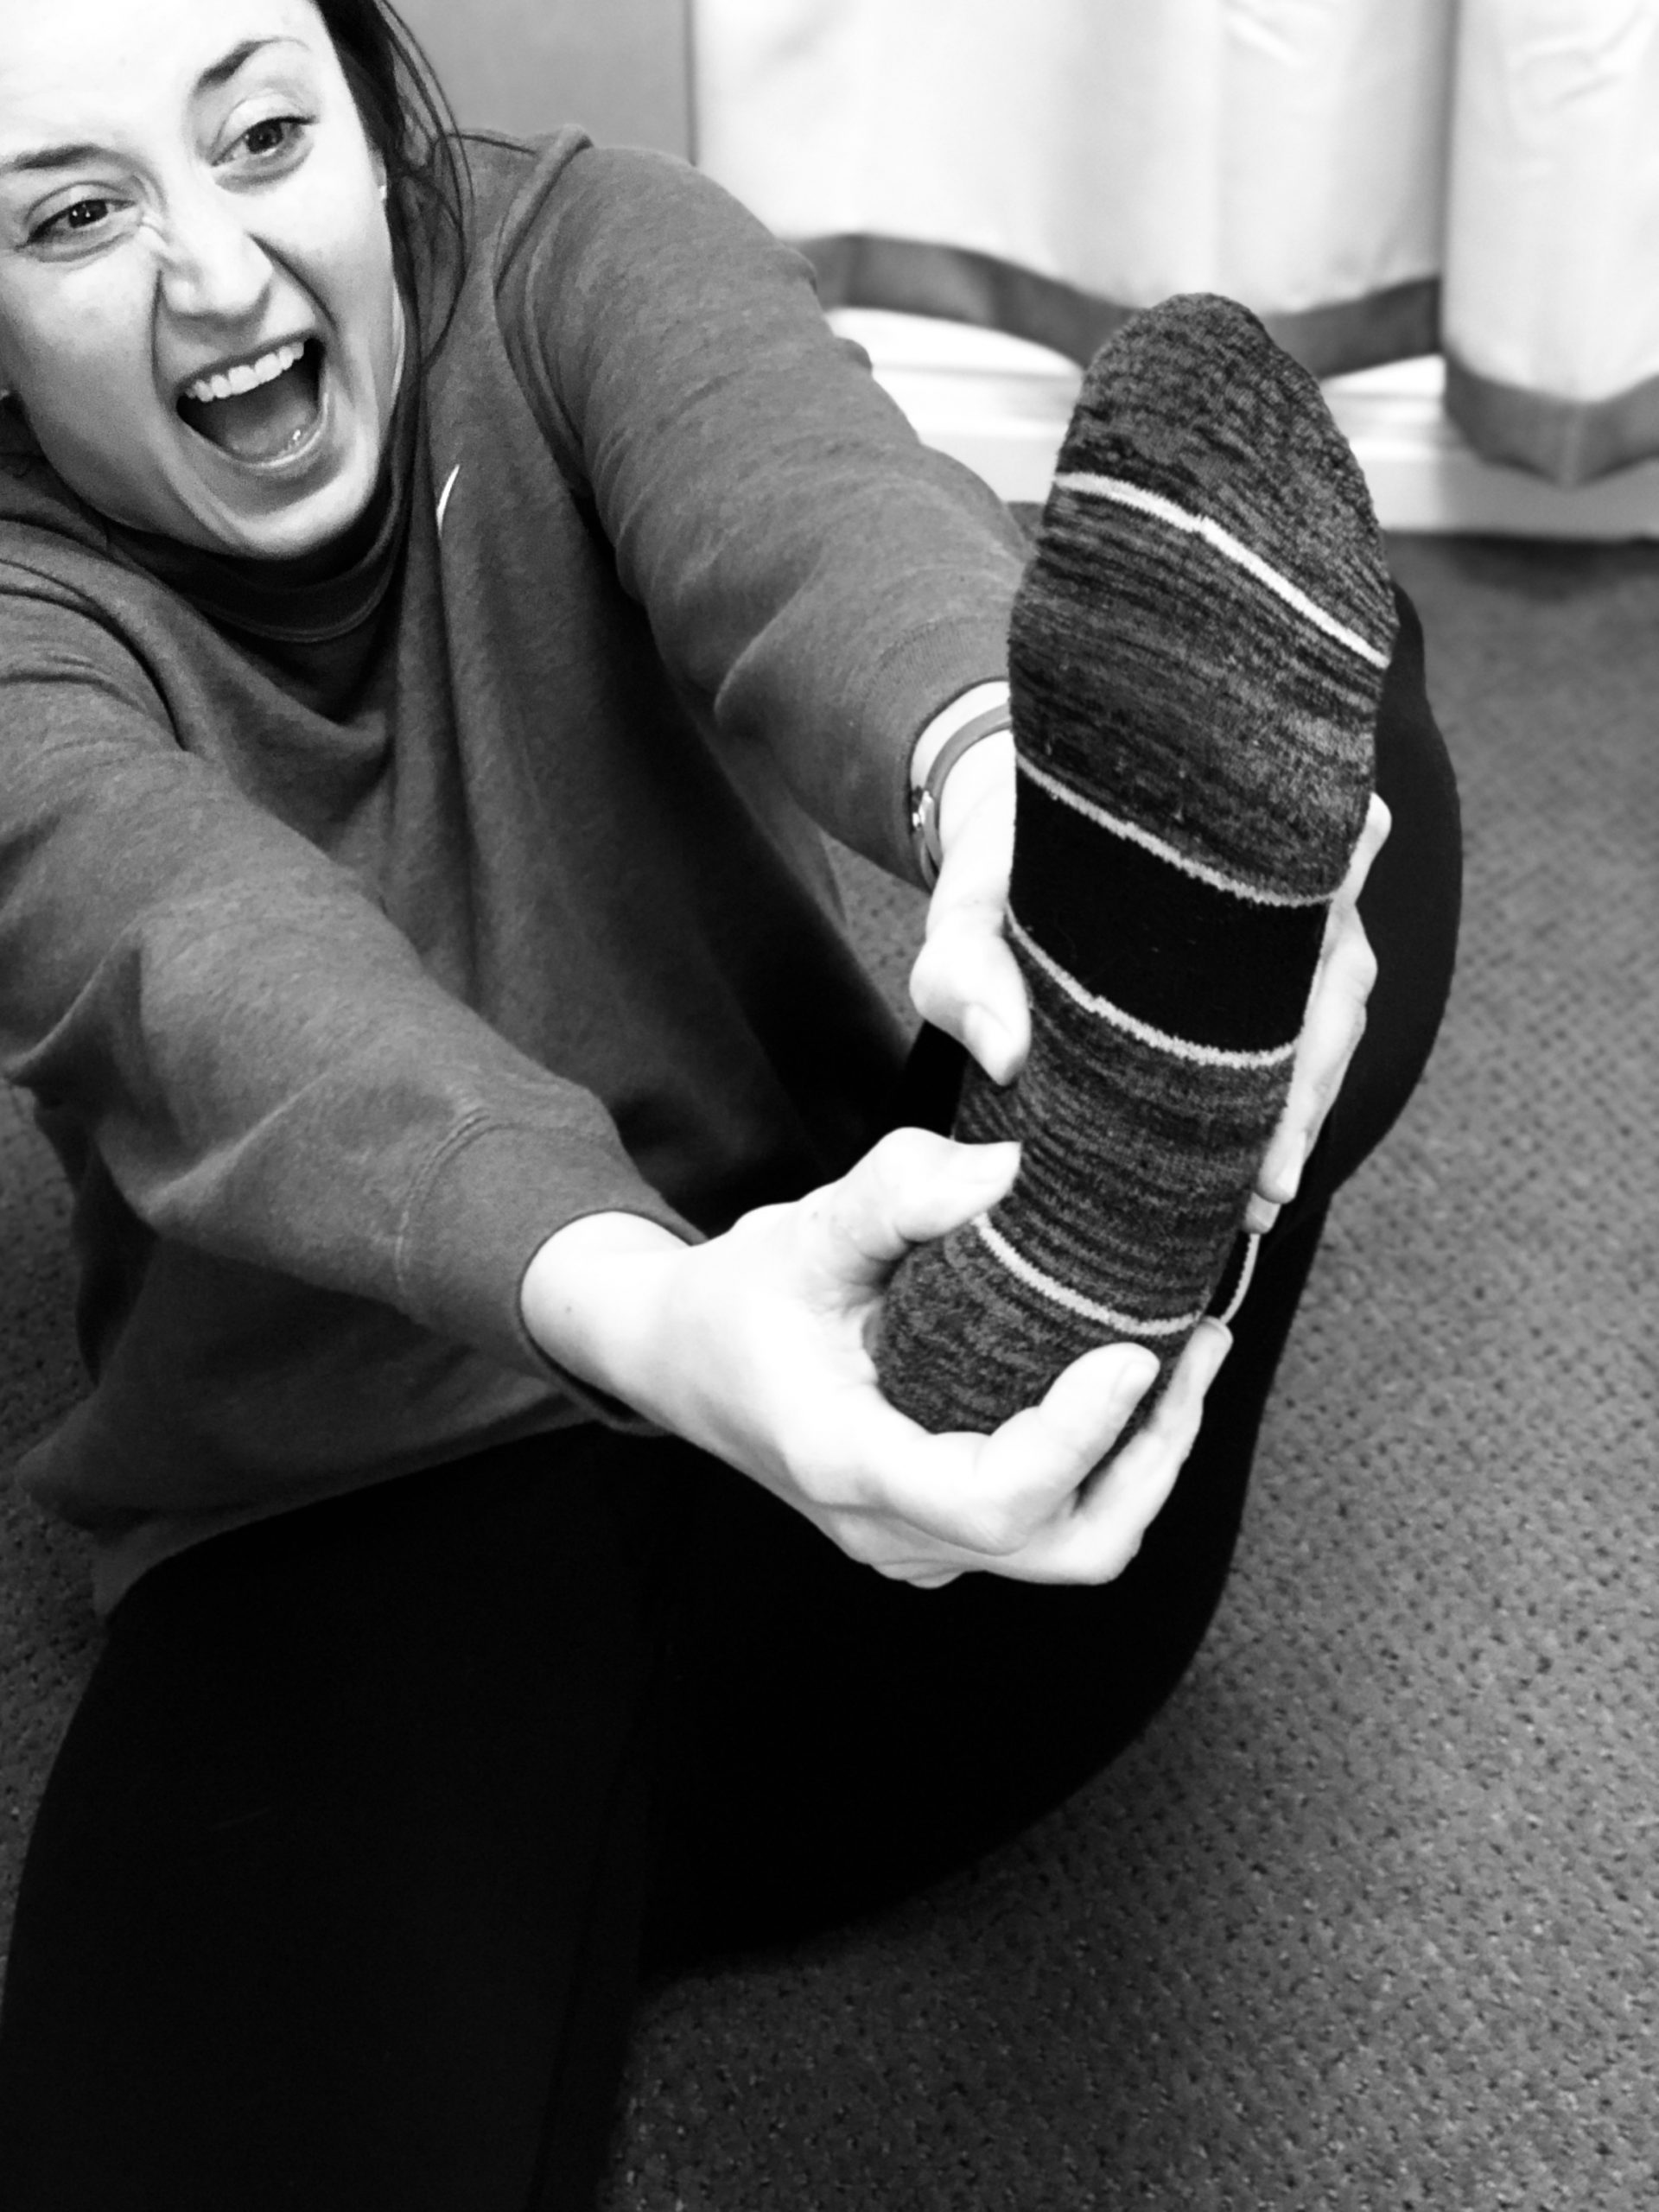
Plantar fasciitis (PF) is a term used to describe inflammation or pain on the bottom of the foot. The plantar fascia is a taught band of tissue that holds the arch of the foot. There are also TONS of layers of muscles on the bottom of the foot that can give pain as well meaning the pain generator is not just the plantar fascia, it can be from muscles as well.
The pain can come in a few different forms – sometimes it’s pain on the heel, sometimes it’s pain on the arch. There are a few other things that “foot pain” could be, but there are a few classic signs of PF:
- Pain that is worse with the first few steps out of bed in the morning
- Pain after a longer time standing, walking, or running
- Pain that seems pin pointed on the bottom of the foot and is sensitive to the touch.
None of the above can rule in or rule out the diagnosis, but many people who come see us for PF pain present with some of the above. The main issue with PF is that it gets stressed every day because we are upright beings and we constantly have to put pressure on the spot that hurts. PF tends also to hang around way too long and when treated improperly, can lead to a very long bout of unnecessary foot pain.
Most people get a flare up from doing a bit more of something that they aren’t use to. How can you get it?
- Running longer
- More hills/inclines
- A change in shoes
- A significant change in terrain (I got it when I went hiking for the first time last season and wore running shoes)
- Doing more of the same activity that you aren’t used to
- Doing more walking in different shoes (walking around the city for the day in flats or flip flips if you aren’t used to it
The most common ways that people manage this type of foot pain is with ice, stretching, rolling the bottom of their foot on a ball, anti-inflammatory medications, and orthotics. While all of those play a role in the recovery process, there are some other things that should be focused on to really make the most out of your rehab.
The initial stage (0-72 hours)…
Gentle stretching, ice, and normal walking around, etc is appropriate especially if it is super irritable. But this really should only last as the sole type of treatment for the first few days of a flare-up. Yes… only for the first few DAYS! This means that more can be done that is much more beneficial if this has been going on for longer than a few days.
Anything but the initial stage (past 48-72 hours)…
You can continue to stretch, ice, ball massage, etc but there is a key component to PF pain that most people don’t address. This is the concept of adding stress to the foot. This would seem counterintuitive, right? Why would we want to stress an already overworked and stressed area of the body? That is actually how rehab works… in many cases our body responds best to adding an appropriate amount of strain to actually get it back to normal. Sometimes, that initial addition of strain gets the area a bit cranky, but as it is repeated that crankiness actually subsides.
This explanation was very brief for the purposes of this article so I want you to keep in mind that every pain experience is different and involve many other factors that affect the treatment outcome. This information can at least set the stage on the idea that there is more to PF pain than ice massage with a frozen water bottle and time off from the treadmill.
Here are some of our go-to PF pain exercises!
- Toes elevated heel raise – This exercise targets the plantar fascia directly to give a combined load stress and stretch.
- Single leg heel raise (modified) – This exercise is imperative for ALL RUNNERS to be performing on the regular. Single leg heel raise strength is incredibly important for runners – you are NEVER on two feet and your calves do a ton of work. They need isolated training and it needs to be hard enough to make gainz. This is a modified version for someone with irritable PF pain, a progression would be to loose the bench and perform with hand-held assist on a chair or wall. This exercise not only strengthens the calves but it also works on the foot muscles as well which can help build and repair the irritated foot!
- Double leg weighted heel raises – This is another staple in anyone’s foot pain program. Double leg her raises work to build up the calf muscles which, as stated above can help build and support the foot as well. The double leg feature allows both calves to work, adding load can help make it challenging enough to make changes.
Lastly… Are you more of a visual / auditory learner? I put a little video together explaining the exercise in the first video! How to help your foot pain
Were you intrigued by this an have more questions? Please reach out!

by Dr. Loni Rodriguez | Feb 10, 2020 | Abdominals, Back Pain, Flexibility, Injury Prevention
There are so many exercises in the world of fitness that we can not keep up. My advice is to keep hold on some basic moves to make sure that you are covering all your bases.
Today we are going to cover some core exercises that most people don’t do regularly. Why aren’t they doing them? Most people perform core exercises that keep your core in a “stable” or stationary position. Those types of movements are great, but one of the best things we can do is keep our “core” well rounded position (not literally…).
What do I mean by well rounded?
We want to move our bodies in all directions! We want to be able to bend forward, backward, rotate and twist. In order to be able to do so, we have to teach our core to help out.
So what is our core?
It is from your mid chest and upper back down to your mid thigh! That whole thing is your core! I am going to review some of my favorite exercises that hit all of those ares.
What is the benefit of core work?
- Can improve performance! It can help people perform better at their sport or activity and make you stronger and more confident to do household chores like carrying in groceries.
- Can help with pain! Core movements are a staple in many of our rehabilitation programs no matter where someone is experiencing pain.
- Can help flexibility! Have you ever said that you have tight hamstrings? I sure have heard that… guess what? Core exercise can help.
Here is what we recommend…
The straight leg sit up
This is a phenomenal movement that can help strengthen your abdominal muscles and get you more flexible hamstrings. It is so common that people can not do this move! Can you do it?
The back extension
Back extension exercise can help improve low back pain and flexibility. It can also help strengthen the spinal muscles that help support your entire body! If you do not have a ball like in the video, you can use a ottoman or a stack of pillows.
V-up hold
This is a holding exercise that helps the straight leg sit up and hamstring flexibility. Sometimes this can be very challenging for people to hold for any time at all so have low expectations…
Superman hold
Have you ever felt your back feel tired? This is the exercise for you. It can make your back feel like it is working and guess what? That is exactly what we are looking for!
Hip flexor strength with band
This is the top exercise that no one is doing for core! Have you ever felt that you had tight hip flexors? This exercise is for you.
Hip thrusts
This one is by FAR one of my favorite exercises. This is incredibly beneficial to help hip and lower back pain and gain flexibility!

by Dr. Loni Rodriguez | Feb 6, 2020 | Client Achievements
Today we are going to highlight Joe, who has been doing great things since having his hip replaced at the end of October. When Joe first came to us, he had only had his right hip replaced two weeks earlier. As expected, he was having some pain and difficulty getting around. This wasn’t Joe’s first hip replacement, which meant he was well prepared for all the physical therapy and the time it would take to get back to 100%.
Here is Joe’s story:
“I was recovering from hip replacement surgery. This was my second hip replacement and I also struggled with overall mobility issues. Prior to the surgery my daily activities and workout programs were limited. I am very active and like a lot of activities that keep me moving and on my feet. Everything from remodeling my home, climbing ladders, cross-fit training were all painful and were becoming less and less enjoyable for me. Although my first hip replacement was successful, I wanted to take a more focused approach to recovery this time. It’s been 4 years since the first surgery and I still feel weakness in that hip. I was determined this time to find a program that could improve strength in both hips, improve my mobility and balance.”
“I found myself immediately doing movements that I didn’t expect do for months. The focus on a variety of single leg movements has helped strengthen my legs and hips as well as improve balance and core strength. At this point I’m able to do movements that I haven’t been able to do in years. I’m pain free and able to do all activities that I enjoy.”
“I really appreciate that on my first day Colin asked me what I wanted to get out of the program. We set goals which have been achieved and Colin continues to check in on what else I feel I need to work on. My sessions are challenging and fun. It’s nice to be able to work hard, but have a good conversation and a laugh while pushing some new boundaries. I really like that when I leave the session Colin sends a workout program to me to focus on in between appointments. I would highly recommend this program to anyone.”
I have had a ton of fun working with Joe, he is constantly upbeat and motivated to take on new challenges. Joe is always consistent with his program at home and is seeing the payoff from his efforts. This combination of great effort during our sessions and commitment to working hard at the gym are why he has made so much progress so quickly with his hip. I’m excited to keep working with Joe and help him reach all his goals. Thanks for being so committed to this program, we are all very proud!
