
by Dr. Loni Rodriguez | Mar 2, 2020 | box jumps, crossfit, Exercise advice, Injury Prevention, Uncategorized
Box jumps are a mainstay of most CrossFit programs and many people have trouble making the smooth landing. No matter the height, it can be scary to try and leap off the ground and safely make it to the top of the box.
Luckily, there are many ways to adapt box jumps to any ability level. Performing a step-up, for example, is a great way to make a slight modification yet still achieve the end goal of getting you up on the box. You can also modify by reducing the height of the box to make it more manageable. Many facilities also have soft boxes in order to save your shins – have you ever missed a box jump and left some DNA on the edge of a wooden box? I sure have and hope it never happens again.
This all being said, there are a few ways that you can help get better at this powerful movement. It is not just about practicing more, it has a lot to do with basic strength and turning that strength into power!
Each area being worked on below helps the process of jumping and clearing the box. You need strength in the lower abs, hip flexors and ankles to get everything flexed enough to clear the box. In addition, quad and calf strength helps power you high!
Box jumps require strength in a few areas that will be explained below. The exercise will be featured within each section. Now… working on these exercises once won’t get you the results you are looking for. This program takes time to take effect and each exercise should be performed at least 2-3 days per week.
- Hip flexors! The muscles on the front of your hips that help to bring your knees toward your chest. Many strength programs do not have a focus on hip flexor strength but training this muscle group has many benefits (not only for box jumps). They are helpful for running performance as well as for treatment of lower back pain.
The hip flexor march is a great initial exercise to begin work on this muscle group.
- Begin by lying on your back with a medium resistance band around the tops of your feet.
- Spread your feet apart approximately hip width and flex your ankles to keep the band in place.
- Draw your knee towards your chest, pulling against the resistance band.
- Return to the starting position and repeat on the opposite leg.
- Lower abdominals! The muscles in the lower abdominals help to pull your knees toward your chest and flex your torso. Not only will strengthening this area help with box jumps, but it also has a benefit on improving hamstring flexibility as well as lower back pain.
The double leg lower exercise is an intermediate movement that really can torch the lower abs.
- Begin lying on your back with your arms overhead holding onto a weighted object. The object should weight at least 10 pounds.
- Draw your knees toward you chest and have your knees and hips bent to 90 degrees.
- Inhale through your nose and tighten your abdominals as you lower your legs towards the floor.
- Lower your feet towards the floor but keep your knees bent to 90 degrees as you lower them – if this is not maintained it will either become very easy or too hard.
- Return to the starting position
- Quad strength! The muscles in the front of your thighs are your quads and they help you jump because they work to quickly straighten your knees. Working on these muscles can also help knee pain.
The weighted ball squat is a specific squat that targets the quads compared to other types of squats (ie. Goblet squat) because it keeps the torso and shins vertical during the entire movement. Using a ball is the easiest way to perform this type of squat without the need for much gym equipment. This can also be effetely performed at a gym that has a smith machine, but that is not necessary for a beginner.
- Begin by holding a weight at your chest while learning against a ball on the wall.
- Slowly squat down until your thighs reach parallel to the floor.
- Stand back up without completely allowing your knees to lock out – this will keep tension on the thighs and make it harder.
- Ankle strength! You have some muscles on the front of your shins that work to flex your ankle up. Training these muscles will not only benefit box jumps but they can also help with rehab from an ankle sprain or prevent running-related injuries.
The toe raise exercise targets the muscles in the front of your shins and if you do it correctly, you will really feel its effect.
- Begin standing about 3 feet from a wall.
- Flex your ankles upward and slowly lower them without allowing them to completely rest on the floor
- Don’t let your entire body rock back and forth as you perform this because you will take away from isolating the area.
- Calf strength! Your calf muscles in the back of your lower leg are the last piece of the puzzle to get you off the ground. Not only do these muscles help with jumping, but they are incredibly important with running.
The heel raise is a very basic calf exercise that works to strengthen the entire calf muscle complex.
- Begin by standing at the edge of a step.
- Raise up onto your toes slowly and go as high as you can.
- Slowly lower yourself down to allow your heels to drop off the back of the step.
I hope that you learned something from the article. As I stated in the beginning, do not anticipate getting better after doing this once. I would suggest finding where you feel you are the most limited and focus on that movement. If you try and take on too much, it can be overwhelming!
Questions about which exercise is right for you? Leave a comment below!
Thank you for reading 🙂

by Dr. Loni Rodriguez | Jan 20, 2020 | Injury Prevention
How many young kids are there that dream of becoming a professional athlete? Growing up I know I did and so did a lot of my friends. Soon enough you realize that’s probably not possible, but maybe you could still earn a scholarship to college or be a standout athlete in high school. These goals are much more attainable and when a young kid shows they have talent for sports we try to guide them to maximize their talent. That is the natural way to help out these young people. What tends to happen next however, isn’t as helpful. These kids are told, “if you want to be the best basketball player possible, you need to strictly focus on basketball”. Substitute any sport you want, but consistently what happens is we encourage these kids to pick one sport and specialize.
First, let’s consider some of the pros of specializing. This definitely helps kids to develop specific skills like shooting a basketball or pitching a baseball. They also will have more time to practice and compete in these kinds of sports. If you only have to worry about baseball, there is a lot more time to spend working on those skills. However, we don’t always think about the potential downsides of spending more time on one sport.
If you focus on only one sport you are at higher risk for overuse injuries from repeating the same motions over and over again. One example of this would be pitching a baseball. Most of us have heard of Tommy John surgery and some may have heard about how this is becoming more and more common in young athletes. One study found that this injury is increasing by 9% each year in 15-19-year-olds. The repeated stress of movements like this can lead to injuries and thus hurt young athletes’ chances of becoming a great high school or college athlete.
Another area that tends to get overlooked is the psychological burnout of playing just one sport. When you spend so much time doing just one activity you can grow tired of it. Spending multiple days of the week at soccer practice and then on the weekend playing for your travel team can take up almost all of your free time. You might miss hanging out with friends, birthday parties, or even just having time to sleep in and relax. Kids need to want to play their sport and they should be the one making the choice to go to these practices and games. One of the keys to success is truly loving the sport you play and enjoying time at games and practices.
Now let’s talk a bit about why playing multiple sports is so good for young kids. Each sport is unique. It requires you to move in different ways and accomplish different tasks. The rules, teammates, coaches, and fields are all different as well. This variety helps athletes to learn how to work in different settings and how to be successful in all kinds of ways. Soccer focuses a lot on cutting and shuffling side to side. These kinds of movements are extremely similar and beneficial to other sports like basketball or tennis. A baseball player may need to focus on throwing the ball, but they also would benefit from sports focusing on speed, shuffling side to side, or developing hip strength. The truth is our bodies need to be able to move in all kinds of ways to be most successful in sports and one of the best way to develop these different movements is to expose yourself to them by playing.
Now some kids just don’t want to play anything besides their favorite sport and that’s okay too. We can’t force kids to do something they don’t want to and should encourage them to find other kinds of training to help them. In this case I will recommend that these athletes get involved in a strength and conditioning program. This will allow them to focus on muscle groups that aren’t being addressed in their regular sports. They will be able to work on their weaknesses and even further develop their strengths. Starting a regular training program is really something every young athlete should be doing.
Another area we should address is free play. Kids need to have time to just running around without any specific rules or structure. Growing up we used to play games like capture the flag, manhunt, freeze tag, and a bunch of other games. Doing things like this is really important to developing as an athlete. This gives young kids the chance to be creative, move in a variety of ways, and learn to think outside the box without rules or boundaries. This is one reason why we always encourage kids to spend time playing with friends and having fun making up their own games.
If you find yourself wondering if you child is playing too much of one sport there is a great simple rule that can help you figure this out. It’s called the rule of age. Basically, you shouldn’t play more hours of one sport per week than you are years old. For example, a 12-year-old shouldn’t be playing hockey more than 12 hours a week. As you get older and mature more your body is better able to tolerate the repetition of a given sport. However, this rule does cap at 16 years old so no matter if you’re 16 or 18- the max number of hours you should play a sport each week is 16 hours.
Sports are a great way for kids to learn teamwork, leadership, and develop physical fitness. If your child is good at a sport and enjoys playing it that is also great! However, this doesn’t mean they should drop all other sports to focus on just one. As we have talked about, this can be detrimental to their risk for injury and overall motivation to keep playing. One NCAA survey found that 88% of division 1 athletes played more than one sport in high school. The best way to help young athletes to be successful is keep them healthy and motivated to be the best than can be. Encourage kids to spend time just having fun without structure and to play all different sports they enjoy.
by Dr. Loni Rodriguez | Dec 2, 2019 | Injury Prevention
Exercise and injuries…
How many of you have “taken time off from the gym because of an injury?” I personally know most of you reading this, most should raise your hand. Go ahead, raise it.
OR… Does this sound more like you?
How about you just go to the gym but stop doing the thing that hurts and just ignore it, hoping that the pain will just go away and you will once be able to wean back into it
Okay… speaking from experience, taking time off and begin injured is really not fun. It is also really not fun to have to modify your workouts, right?
WHY? Let me take you through a few scenarios…
It reroutes your routine First off, your normal routine gets all messed up because for most of us, the gym is part of your daily or at least weekly routine. This impacts not only the rest of your day but also your social life. If you aren’t going to the gym, then you aren’t seeing your friends. On the other hand, let’s say you are going but you are modifying – still not as satisfying as hitting it hard, no limtiations.
You’re sluggish You feel sluggish, you begin to lose your energy level and start to feel out-of-shape. You begin to feel like the endurance and strength you have build will all be lost.
Fear You begin to be a little concerned that your pain is not going to go away. You know that it is still there because you tested it a few times on a run and yup, it is still there.
Concern Okay, now it is really not getting better… but it is not really getting worse? You are not sure where to turn or who to talk to.
So… I have been injured, I get that you don’t always want to ask for help. Time will go by and most things get better with time. You are spot on… However, there are a few things that can really speed up the process when you are injured.
Here are 4 tips that can really help speed up the process of healing while being injured:
- KEEP GOING TO THE GYM
- KNOW HOW TO MODIFY
- KNOW HOW TO WEAN BACK
KEEP GOING TO THE GYM.
Most people I know still do this and there are HUGE benefits!
- Continuing to go to the gym helps maintain your fitness and work on other areas of weakness that you may have been neglecting.
- Keeps you in a regular routine. This one is HUGE! You MUST have a routine to keep yourself sane. There are many times that you HAVE to take a break from some activity or movement for a short period of time, but you MUST know how and when to modify.
KNOW HOW TO MODIFY.
Many people use pain as a stop sign, it hurts so STOP. Well sure, sometimes we need to do that but it is also important to still use that body part or region of the body during other activities!
Here are some examples of how to work through let’s say, a knee injury…
Knee pain with running?
Try the elliptical The elliptical is a great option to substitute as well as fast walking. Keeping yourself on the treadmill or road is very important. If you are a runner and love that runners high but can not run right now, throw on a weight vest and get after a 45 min walk at a fast clip – you will be surprised at how much your heart rate will skyrocket.
Get stronger Strength training for the lower body is a main-stay for knee rehab and time off from running is a great time to begin to emphasize it. Strength work will no only help rehab the knee while it heals, but it will also dramatically improve your running performance once you are back on the road… a WIN WIN!
Knee pain with squatting?
Modifying the weight, the speed, and OR the range of motion can be the best way to modify when it comes to pain with squatting.
- Weight If it does not feel great to squat with weight, make it a little lighter and increase the reps to still get something out of the workout
- Speed Slowing a movement down can be a serious challenge… If you are having knee pain with squats, try squatting SLOW – 3 second count on the way down, 3 second hold at the bottom, and a 3 second count on the way up. It will get real spicy, real fast! It is a great way to get. Good training effect without heavy weights
- Range of motion Maybe partial squats are where it’s at for you right now, because deep squatting is painful. Well guess what, that is FINE! Partial squats have many benefits and if you are still training the squat but just changing it up a bit for a while, you are doing GREAT!
KNOW HOW TO WEAN BACK
This is the hardest part for anyone… Patience is key and understanding the steps you need to take is very important.
- Give it time So… You have been feeling really good, you do a test “run” to see how your hip is feeling and it feels great! I would not suggest trying to run again, tomorrow, farther, faster. Stay at the same level of intensity for at least 10 days and do not repeat the activity more than 2-3 times within those 10 days. At that point, you can progress, but only if you feel 100% confident.
- Continue your rehab So… You are rehabbing yourself or working with someone and have been strengthening things up. Great! Keep doing it and make sure the routine aligns with your goals and is progressive! Your rehab / strength work needs to get harder and progress.
Everyone’s rehab from and injury is different. Every client we see is a human, there are life things that have to be taken into account, different goals, lifestyles and routines. All of that plays a HUGE role in HOW to wean back from an injury. I am hoping that this gives a little insight on how you may be able to apply this to your own injuries or pain you have been dealing with.
Questions? Let us know or find yourself a solid rehab team to get you back on your feet.
by Dr. Loni Rodriguez | Nov 21, 2019 | Injury Prevention
Dr. Loni here, coming to you with some info on why we get hurt!
There are many causes for injuries, WAY too many to list and name. Why is that? We are all different human beings with different inner workings, work schedules, ability levels, past histories of injury, medical conditions, motivation levels, fears, sleep qualities, nutrition habits, and the list goes on…
So what is the number one predictor for injury? Hands down, the research tell us that the number one predictor of injury is previous injury.
This, however is not something that we can modify. We can’t take back time. So, what CAN we modify? Well, give this next statement a read…
Most injuries occur from doing too much after doing too little for too long.
So… why do we get hurt?
Injuries and pain have a TON of contributing factors, too many to name and too specific to each person to narrow down to an all inclusive list.
One of the best ways to look at an injury or develop a prevention strategy is to think through these key points:
- Are you dealing with current injury or pain? Did YOU put YOUR body through more than it used to at a faster speed than it could adapt to?
- Are you thinking about Injury prevention: Can you find out what your goal is and create an exercise routine around that goal? Will it allow your body to SLOWLY adapt and become resilient to the activities you want to put it through?
Think a bit less about how to FIX what is going as the first line of defense on using specific fixing methods for pain relief, movement correction, etc.
Think more about the relevant causes, make some short-term modifications, maybe add some fixing methods in along the way to help you get by, and put a plan in place to SLOWLY allow your body to adapt to what you want it to do.
Did you learn something here? Let us know! Do you know someone who would benefit from reading this? Pass it along.
Until next time…

by Pippa Teague, Strength Coach | Oct 14, 2019 | Back Pain, Exercise advice, Injury, Injury Prevention, Personal training, Recovery, strength training, Uncategorized
By Loni Rodriguez, DPT
Having an animal in pain is really scary.
They can’t talk, they can’t tell you what makes it hurt, how severe it is, how it makes them feel, or what makes them feel better.
You can’t ask questions like, “Does eating make the pain worse?”
Or… “Has this been going on for a long time, you just haven’t done anything about it?”
You must rely on watching their body language and for signs of distress. But man, to base your plan of attack on a dogs sign of pain is really challenging.
It is hard because when you see these said signs (shivering, whimpering, panting), you want to try not to freak out and run to the emergency room. Sometimes, things like this just go away on their own. Also, everyone knows how expensive the vet can be and you are 110% at their mercy which means you have to have a trusted source for care.
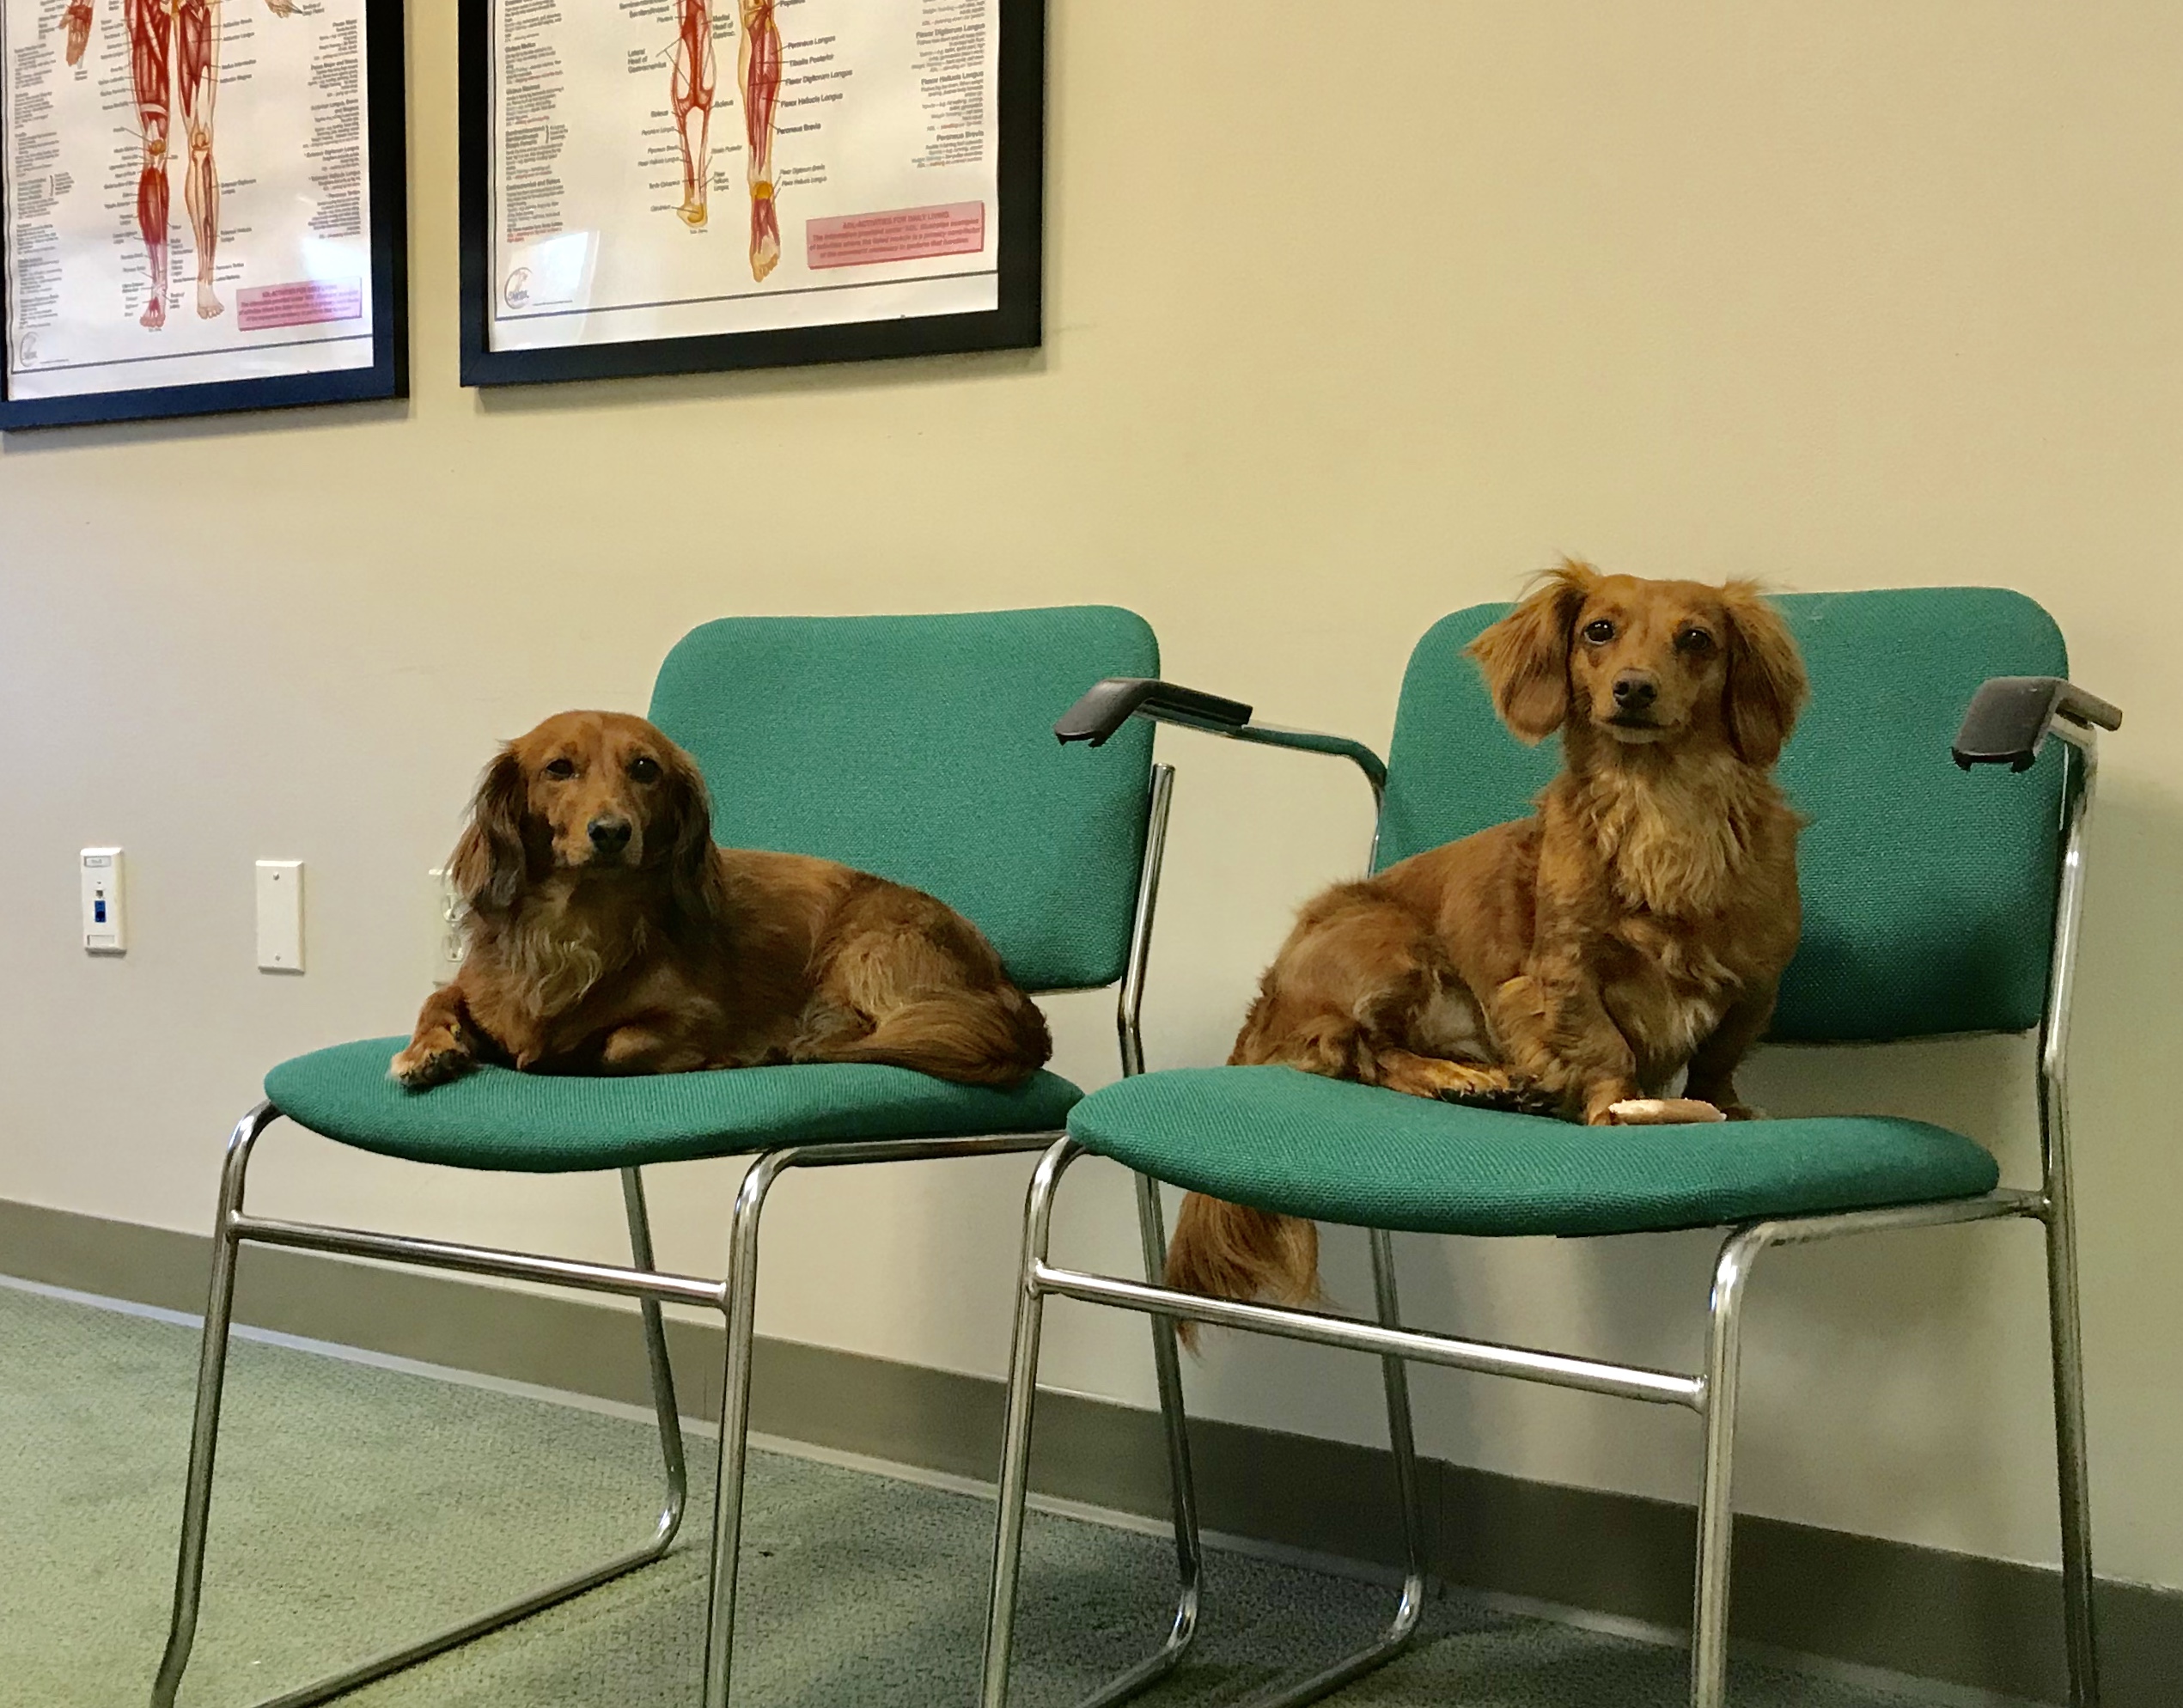
Gracie (our 5 year-old Long-haired Dachshund) had suddenly began to show signs of distress one day. The signs would fluctuate, but she just was not herself and we made the decision to take her to the vet. After some blood testing and ruling out the real serious things, she was diagnosed with lower back pain. Now, Dachshunds are known for back issues because of their bodies, but she’s 5 years-old! She does love to play, jump and run but has had no prior history of this…
The vet’s treatment plan was high-dose anti-inflammatory medications and ‘crate’-rest for 2 weeks. I asked about physical therapy, I knew that “doggy” chiropractors existed but they didn’t have any resources for us. Nevertheless, we took the docs recommended plan and headed home. Mommy went into PT-mode.
I texted and messaged Instagram friends all over the country to see who knew what I could do for my dog with low back pain. Soon enough, responses poured in and I was in contact with one of the best animal chiropractors! (Social media is WILD). We spoke briefly on the phone and not to my surprise, the vet’s recommendations were pretty poor and she explained that it was a very ancient school of thought. I needed to find myself a local chiropractor for my pup…
A few days went by, Gracie was looking a bit better but still was well below 100%. She was not really eating, not wanting to leave her crate very much (even though that is what was recommended, I left the crate door open). She really was just feeling like crap. During this time, we also have Mr. Tucker (our other pup) right by her side cleaning her ears, eyes and mouth like a caring little bro – the CUTEST thing ever.

A few more days went by, still not looking up for our furry baby. One morning I woke up to get ready to go to OrangeTheory and took Gracie out to pee. She seemed like she had a little pep in her step without showing signs of distress so I was happy. That was until I took her outside and she stumbled and fell over on her hind legs while going to the bathroom. Her back legs were not working normally! That was it, to the vet ER I went at 5:30 am. Even though I could tell she was not in as much pain, I needed to get her looked at.
After waiting patiently and going through with the evaluation with the ER doc, they cleared her for severe loss of function via some testing and diagnosed her with MILD disc herniation and recommended HIGHER-dose pain medication for 6 weeks and complete crate rest (for 6 more weeks).
WHAT?!
But she wasn’t in pain? She was actually happy and seeing some improvements? If you clear the big scary diagnoses and say the leg weakness is a sign of a mild disc herniation then why the 6 weeks of bed rest and super high does pain meds that will knock her out?!
Could ANY of this be similar to a human? (I asked, and they said sort of but not really…) They said that if I did not follow these recommendations, I could be looking at severe negative effects and possibly needing surgery…
This seemed WAYYYY too close to some recommendations made to patients in the past who have made amazing strides without heavy meds, rest, or surgery.
Again, I reached out to the trusted chiro and she said PLEASE find a local doc. So… that is what I did. The SAME day that I brought her to the ER, she was seemingly better so I think she was gradually improving in regards to discomfort and pain, but her leg weakness and lack of coordination continued to be present. I absolutely wanted another opinion. I found a doctor of doggy chiropractic medicine that the other chiropractor approved of. We were seen for an appointment and all of my worries and thoughts of having to rest and medicate her were gone. He agreed with some mild disc-related pain, but explained that dogs are self-limiting. They will do as much activity as their bodies can handle. Yes, I needed to keep her from jumping, playing hard with her brother and limit how MUCH play… but to let her play and be normal. He did some gentle work on her and off we went.
Movement was medicine and she is now close to 100% after about a week.

Now… what did I learn from this experience?
It is really hard to trust ANYONE when your loved one is going through pain. You want what is best, but are not sure who’s recommendations to follow.
I need to continue to be very mindful of how I approach education and treatment recommendations for my clients. I found myself reflecting on how I have approached recommendations to patients. I am confident in what I tell people to do, but they HAVE to be confident themselves before they will follow what I have recommended. Even though I really did trust the original “virtual” chiropractor, I was faced with significantly different conflicting recommendations by an ER doctor… I am SO glad that I did not follow the original recommendations.
Find a medical professional that you trust. Find that medical provider that you really feel has your best interest in mind, has the resources to allow you to make your OWN informed decision on how you would like to proceed, AND has enough humility to admit when they may not know exactly what to recommend, but know someone who can help.
If this story resonated with you, please let us know leave a comment below or shoot us an email. If you are a current client and see Gracie in the office on the regular, give her a hug! She is a happy pup who loves attention.
Looking for the doggy chiropractor? Get in touch and I’m happy to share 🙂

by Pippa Teague, Strength Coach | Oct 10, 2019 | Abdominals, Conditioning, Exercise advice, Injury Prevention, knee pain, Ladies, lifts, Personal training, Recovery, strength training, Uncategorized, working with injury, youthtraining
Lunges are a great unilateral movement to work not only the muscles involved but also work balance and stability.
They can be done with little space required
-difficulty can be added by including weight- kettlebell or dumbbells
Here are some lunge variations:
The reverse lunge
- start with the feet hip width apart and facing forwards
- with your back remaining straight take one foot backwards, allowing both knees to bend as the back knee touches the ground lightly
- push off the back foot keeping the front foot firmly planted
- drive through the heel and return the leg beside the other
Repeat on the other side
this works the glutes, quads and hamstrings and is also a great way to improve knee stability
Alt reverse lunge
Lateral Lunge
We often forget to move laterally. Lateral movement is great for stabilizing the hips and works your inner thigh and glutes.
- start with your feet together
- Step out wide to the side, transferring the weight over to the side you just stepped with, keeping both feet planted on the ground and facing forwards
- sit back into a squat position and go as low as you feel you are able to
- drive through your foot and return to the starting position
Repeat on the other side
Lateral lunges w/ kb
Static (split squat) Lunges
During this movement the feet remain in the same position (static)
This movement is great for those of us who are not so good with balance when moving and is the least challenging of all the lunges. Static lunges help build balance and strength from a stationary position.
Muscles worked are your thighs and glutes
- Start in a split stance- hip width apart with one leg in front of the other
- Lift onto the toes of your back foot and lower that knee down to the ground allowing the front knee to bend also to a 90 degree angle parallel to the ground
- Press through the heel of your front foot and straighten the legs back up.
- Keep your torso upright. Most of your weight should be felt through the front leg
Repeat 8-10 reps and then switch to the other leg
Split Squat w/ kb
Alternating jump lunges
Similar to the reverse lunge but with an element of power and plyometric transition with a jump from one lunge position to the other by switching feet in the air
This exercise challnges the same muscles as the regular reverse lunge but also adds a cardiovascular effect by increasing the heart rate and helps burn more calories.
tips to help your jumping lunge
- master the basic lunges first-reverse lunges and walking lunge
- aim for soft landings, avoid landing hard on your knee
- chest and torso stays upright
- be light on your feet and try to spring through the ball of your feet to gain some air time
- you can increase the difficulty by increasing reps, jumping higher and spending less time on the ground
Alt jump lunges
Try some lunges today and let us know how you get on!
Happy lunging !
